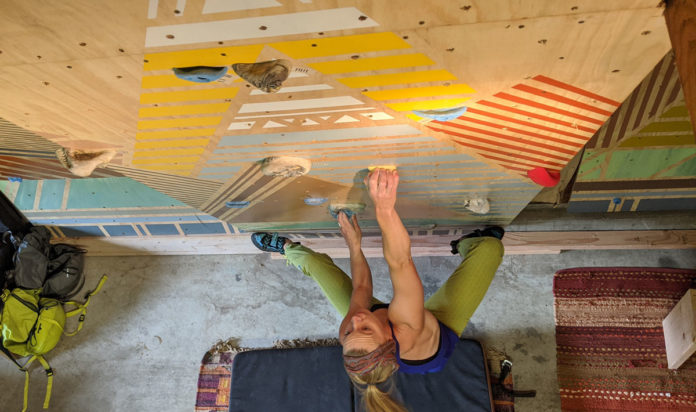
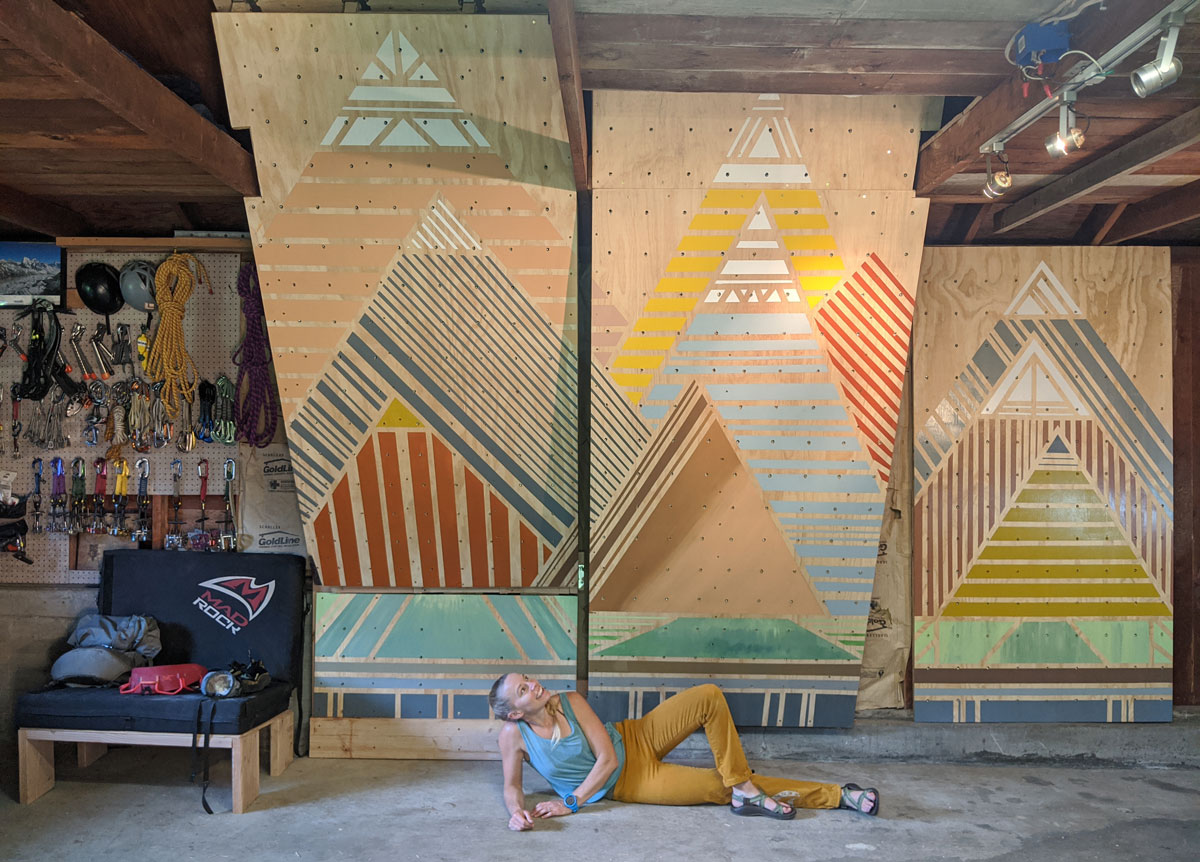
This week’s Home Wall of the Week lives in Seattle, Washington. This coronavirus build took three weekends and many trips to Lowe’s. Owner Clarissa C. brought the mountains to her garage with a personalized paint job.
When did you build your wall?
I built the wall over a few weekends in May during the coronavirus lock-down. Working on it over the weekends was somewhat challenging, as I’d have to figure out where I left off each time and it would take a bit to get back into the context. Each day would inevitably be broken up by a trip to Lowes to get supplies I forgot or couldn’t fit into the car on the previous visit. Each day usually started around 10a and ended by 4 or 5p. The hardest part about doing it only on weekends was the building anticipation of having it completed and being able to climb!
How long did it take you to build and what did that time look like?
Three weekends and a couple of long days each weekend with trips to Lowes to grab materials and parts.
Not including holds and padding, how much did it cost you to build?
Not including holds and bolts, it cost a little over $400 to build the wall, and another $40 for the paint. I did some budgeting beforehand, but didn’t spend too much time on it as I knew the limited space I was working with in the garage would help prevent costs from getting out of control. I basically used what REI/Metolius recommended to calculate rough costs: multiplying twice the number of full sheets of plywood in the design by the cost per sheet. For this design, I was also planning on using four sheets, and the cost per sheet was almost exactly what they outlined. Where the additional costs came in were buying a proper impact drill and extra impact bits. Also, those #14 x 3-1/2″ screws are pricey, I was surprised by that!
What was your primary incentive for the wall? Did anything in particular inspire your wall design?
I knew I wanted varying degrees of overhang to add variety. What really got me inspired was the ability to be creative and paint the wall. Without being able to get outside, I wanted to bring the mountains to my garage.
Had you thought about building a wall prior to the virus? Any particular builds you referenced that helped you DIY?
It was something I had always wanted, however free time was spent either climbing outside or at the local gym, so there wasn’t a pressing need for one. Once lockdown happened, priorities quickly shifted. The thought of not having any climbing for the foreseeable future wasn’t very appealing, so I snapped into action and started my design. I hadn’t really looked at other builds; given the structure/space of the garage, I knew it was going to be a relatively straight forward build without a lot of angles and corners. I have a few friends who have built their own, so I considered their designs, but tried to keep it as simple as possible.
What was the most difficult aspect of the design and build?
It was initially difficult to design around the existing structure and odd measurements of studs/joists. I wanted to build up to the roof, but getting the measurements and angles of both header joists proved to be more difficult than originally anticipated. And then, there was also a three-foot concrete slab up the length of the wall . . . The concrete slab was one of those “two steps forward, one step back” moments. I had previously built a crash pad chair, which was set up directly in front of where the slab rose up the wall, so it was completely out of sight, out of mind. Once I discovered my oversight I borrowed a neighbor’s masonry drill and tried to use concrete screws. However, that didn’t work out well, so instead I decided to put the header joist where the 3 ft concrete slab ended, and then add vertical wood from the header to cover the concrete. It wasn’t a huge hit to the design as it added another angle to the mix and I just covered the concrete with plywood for foot holds.
Did you make any mistakes along the way or choose to re-do any aspects? What would you do differently?
Plenty of mistakes were made 🙂 Most of them occurred early in the framing phase. In my haste I miscalculated where two of the joists needed to be attached to the joist hangers, so that led to a bit of a headache and redoing that prep work. Also, it wasn’t necessarily a mistake, but I would definitely make sure to spend extra time being picky about finding joists with zero warping. It takes some extra time, and they can be difficult to find, but it definitely makes life easier in the long run! Learn how to properly measure multiple angles to make cutting the studs to size a bit easier and quicker. I’d also order the holds before finishing the wall because they take a while to arrive.
What is your favorite aspect?
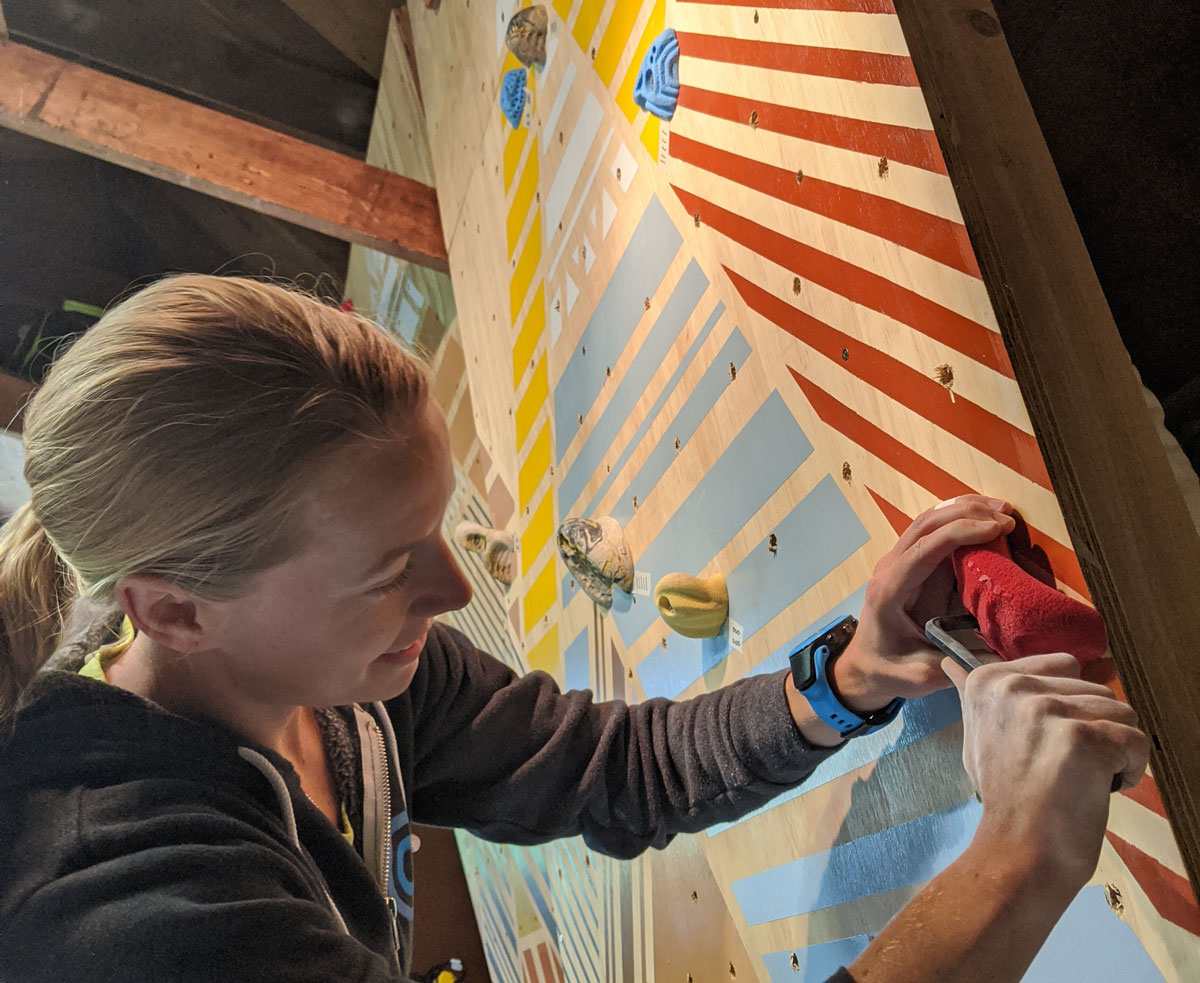
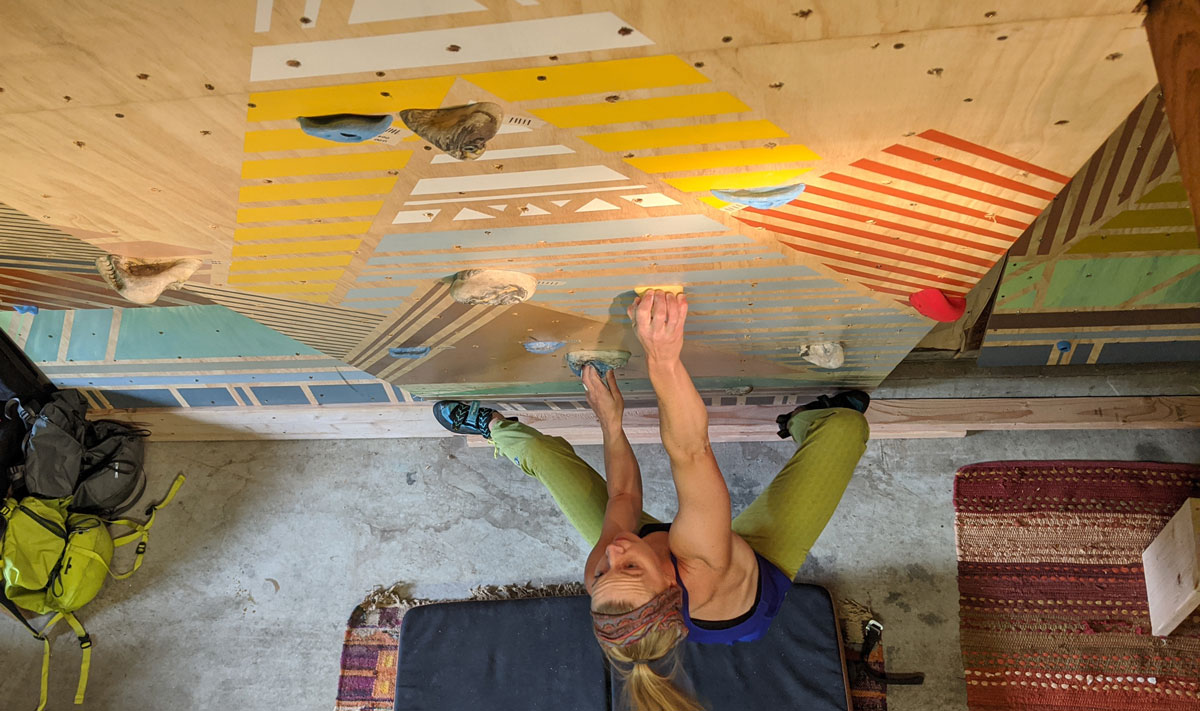
The painting (haha). It gives it a lot of character and now it’s personalized to me. Especially with it being in the garage, it feels much more inviting to spend so much time in there on it. The painting aspect of the wall was the part I was most excited about (other than climbing, of course). Obviously this wasn’t necessary, but if others are looking to paint their wall, you can pretty much use any paint or design you want. I had a bunch of acrylic craft paint and Lowes interior paint laying around. I mixed paint colors together to get the desired color. If you want to paint your wall and don’t have a vision, you could try to look up climbing gyms and see what designs they have chosen and use that as a guide. Any design will work, it just depends on how much time you want to spend creating it, and knowing that it will eventually get scuffed some. To help with the scuffing, I rolled the finished panels with a coat of clear-seal (used for garage floors). Also, paint your panels before you drill holes for the T-nuts, so that you don’t have to paint over holes and some splintered wood.
Any words of wisdom to aspiring homewallers?
To just go for it. Don’t let the initial sticker price turn you off from building one. It’s an incredibly fun and rewarding process, and the feeling of accomplishment while you set your first problems is totally worth to time investment. Also, have an open mind: be ok with running into roadblocks during the process as it is all part of the experience, especially if it’s your first time building one.
Want us to consider your woodie for a future Homewall of the Week? Submit your homewall here to be considered. If yours is chosen you’ll win a prize pack like this (varied prizes each week):


Climbing Business Journal is an independent news outlet dedicated to covering the indoor climbing industry. Here you will find the latest coverage of climbing industry news, gym developments, industry best practices, risk management, climbing competitions, youth coaching and routesetting. Have an article idea? CBJ loves to hear from readers like you!


